


Why Does My Water Heater Leak? Causes & Fixes

Table of Contents
Why Does My Water Heater Leak? Common Causes Explained
Loose Pipe Connections and Fittings
Tank Corrosion and Internal Failure
How to Find Where the Leak Is Coming From
Distinguishing Condensation From an Actual Leak
Water Heater Leaking From Bottom: What It Means
Water Heater Pressure Relief Valve Leaking
How to Tell Which One You Have
What Not to Do
Urgency at a Glance
What to Do When a Water Heater Leaks
Step 1: Classify the Leak by Severity
Step 2: Turn Off the Power or Gas
Step 3: Shut Off the Water
Step 4: Limit the Water Damage
Step 5: Drain the Tank If the Leak Is Heavy
Step 6: Call a Plumber
Safety Notes by System Type
Water Heater Replacement Signs to Watch For
Frequently Asked Questions
Last Updated: October 6, 2026
Why Does My Water Heater Leak? Common Causes Explained
A leaking water heater is one of the most common calls we get at True Value Plumbing, and the cause is usually a loose connection or a rusted-through tank. A water heater leak from a fitting is often a quick fix; a leak from the tank usually means the unit is done.
Water heater leaks fall into two groups: external leaks from reachable parts like pipe connections, valves, and fittings, and internal leaks from the tank itself, which are not repairable.
External leak sources (usually fixable):
Loose pipe connections and fittings
A failing temperature and pressure relief valve
A worn drain valve
Internal leak sources (usually not fixable):
Tank corrosion and rust
A cracked tank from thermal expansion
Sediment buildup that has eaten through the base
The cause decides whether you call for a repair or start pricing a replacement.
Loose Pipe Connections and Fittings
Loose fittings are the most common and least expensive cause of a water heater leak.
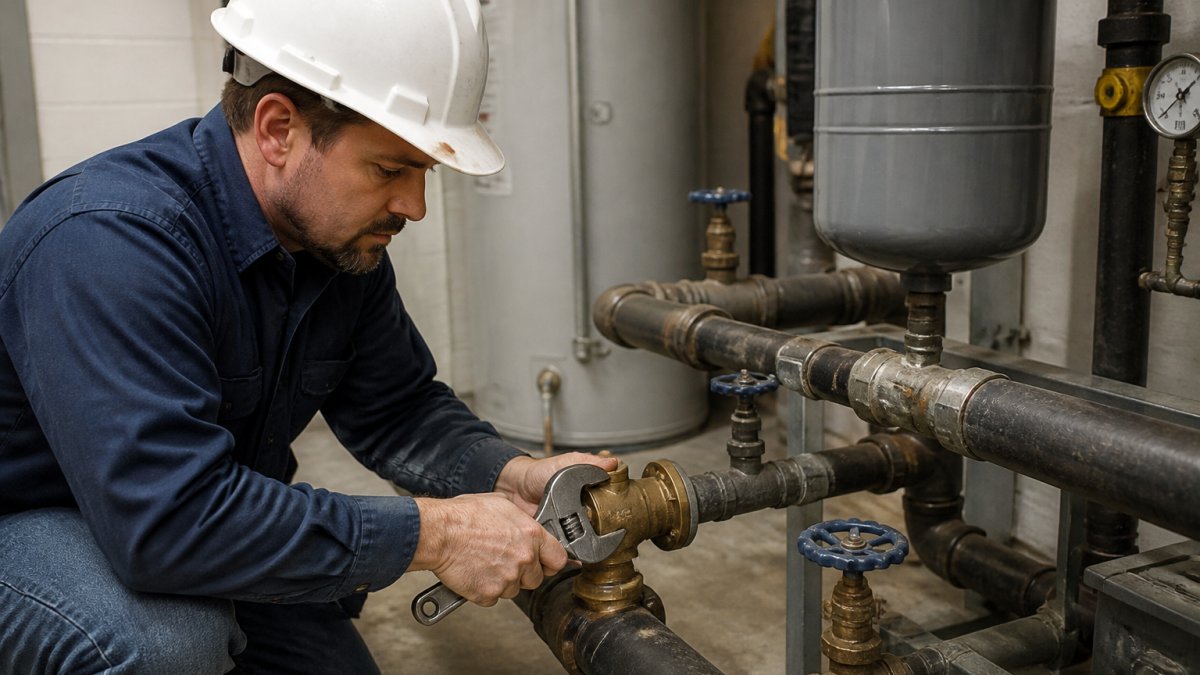
Check the cold water supply line where it enters the tank and the hot water outlet on top. Heat cycles loosen these connections, and a quick tighten with a wrench often stops the drip.
If the fitting is corroded or the threads are stripped, tightening will not help, that connection needs replacing.
Pro Tip Dry the pipe completely with a cloth, then wrap a paper towel around each connection and check it after 30 minutes. The wet spot tells you exactly which fitting is leaking instead of guessing.
Tank Corrosion and Internal Failure
Rust on the tank itself is the one leak you cannot fix. Once the steel shell corrodes through, no patch or sealant will hold.
Every tank has an anode rod, a sacrificial metal bar that rusts instead of the tank.
Signs the tank is failing:
Rust streaks or orange stains on the tank body
Water pooling under the unit with no visible fitting leak
A tank that is 8 to 12 years old
If you see rust on the tank itself, start planning for a replacement. A leaking tank will not get better.
How to Find Where the Leak Is Coming From
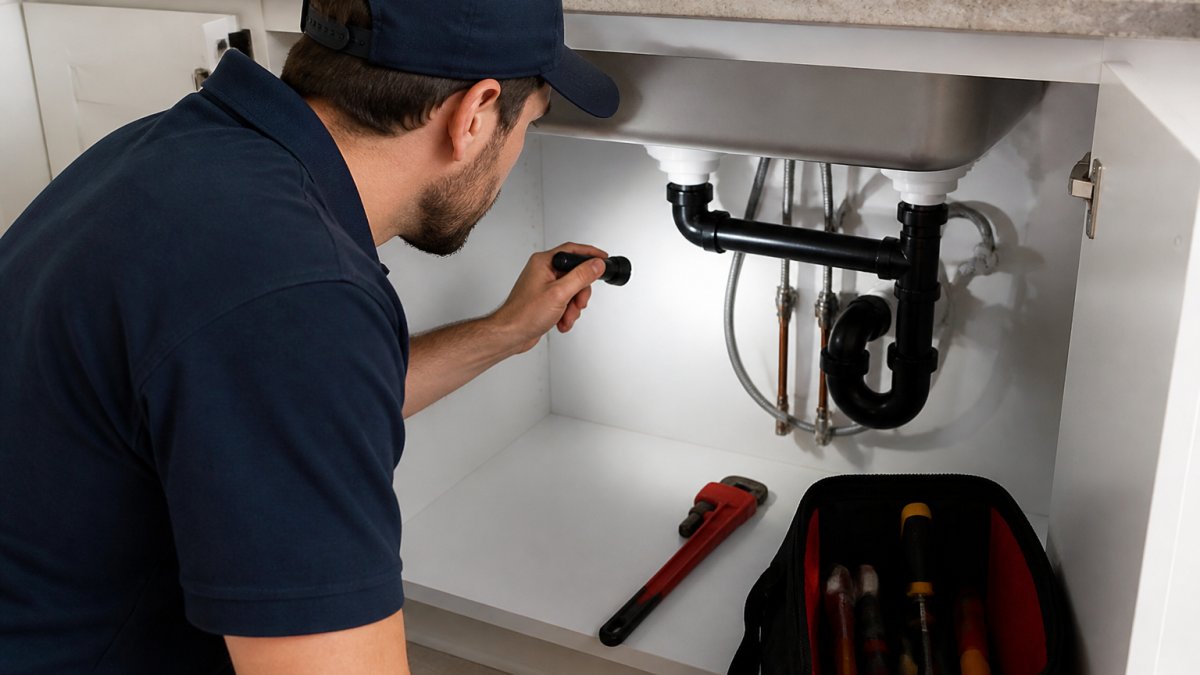
Finding the source of a water heater leak takes about 15 minutes and a flashlight.

Total Time: 15 minutes Difficulty: Beginner
What You'll Need:
Flashlight
Dry cloth or paper towels
Bucket or towel for the floor
Step 2: Shut off the water. [Time: 1 minute] Close the shutoff valve on the cold water supply line above the tank.
Step 3: Dry everything and watch. [Time: 10 minutes] Wipe down the top, fittings, valves, and base, then watch where water returns first.
Expected Result: You will see water reappear at the true leak point within a few minutes.
Use this quick guide to match what you see to the likely cause:
Leak Location | Likely Cause | Urgency |
Top fittings or pipes | Loose connection | Low, tighten it |
T&P valve discharge pipe | High pressure or thermal expansion | Medium, call a pro |
Drain valve at the base | Worn drain valve | Low to medium |
Bottom of the tank | Corrosion or tank failure | High, plan replacement |
Sweating on the tank or pipes | Condensation, not a leak | None |
Distinguishing Condensation From an Actual Leak
Condensation is not a leak, and it fools a lot of homeowners.
Condensation shows up as a fine mist or beads spread across a wide area, often on the tank and pipes together.
Dry the area and check again in an hour. Moisture that returns spread out and thin is condensation; moisture that returns at one spot and grows is a leak.
Water Heater Leaking From Bottom: What It Means
A water heater leaking from the bottom is the worst-case scenario.
Word of Advice TV
One exception: water at the bottom sometimes comes from a loose fitting or the T&P valve up top and runs down the side of the tank.
If the tank is wet at the base and the fittings above are dry, the tank has failed.
A leaking tank cannot be repaired. Shut off the water and power, drain the tank, and call a plumber to replace it.
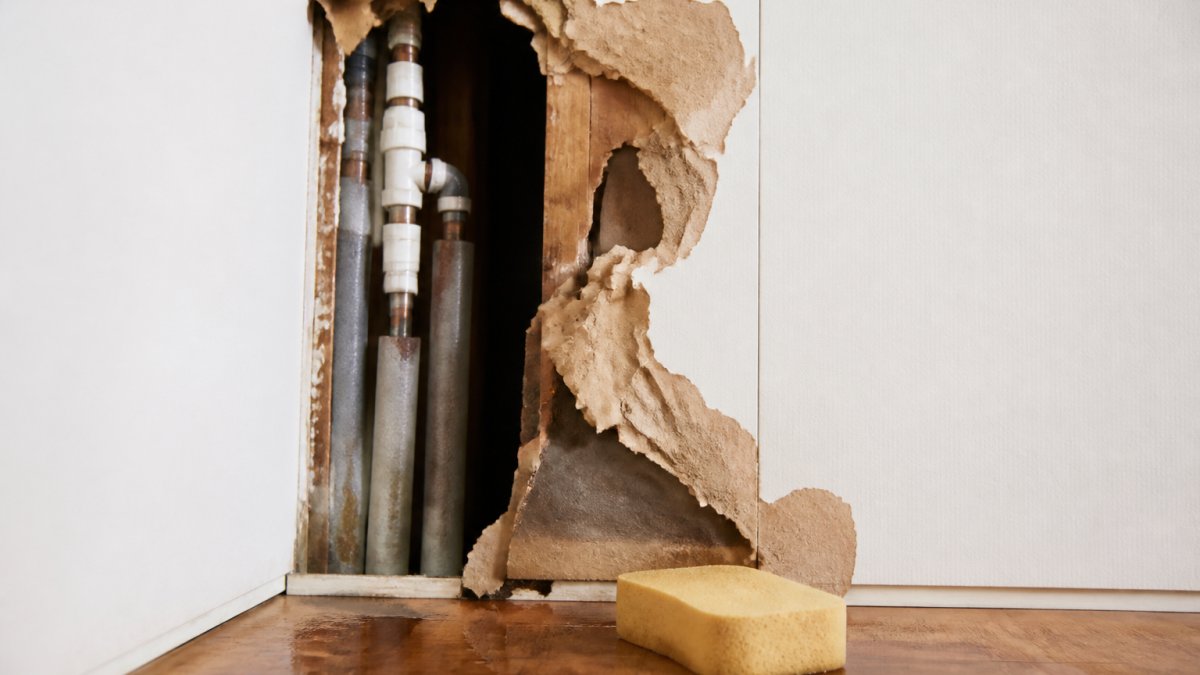
Watch Out Never ignore water at the base of the tank. A slow tank leak can quietly damage your floor, subfloor, and drywall for weeks before you notice. By the time you see a stain on the ceiling below, the repair bill is far bigger than a new water heater.
Water Heater Pressure Relief Valve Leaking
A water heater pressure relief valve leaking is usually a sign of too much pressure or heat inside the tank, not a bad valve. This valve, often called the T&P valve, opens to release pressure before the tank bursts.
The T&P valve has two jobs: the temperature probe releases water if the tank overheats, and the pressure spring releases water if internal pressure climbs too high.
When it drips, one of four things is usually happening:
High incoming water pressure. Municipal supply pressure that runs above the typical 40 to 80 psi range pushes water out of the valve. A plumber can test this with a gauge on an outdoor hose bib or a nearby tap and install a pressure-reducing valve if the reading is high.
Thermal expansion. As water heats, it expands. In a closed system, one with a check valve, backflow preventer, or pressure-reducing valve, that extra volume has nowhere to go but out the T&P valve. A thermal expansion tank gives the water a place to go and is the standard fix.
Overheating. If the thermostat or the high-limit switch fails, the tank can overheat and trip the temperature side of the valve. This is a safety event, not a nuisance drip.
How to Tell Which One You Have
Look at the discharge pipe. A steady stream points to pressure or temperature. A slow weep that never stops points to a worn valve.
Check the temperature. If hot tap water feels scalding or the tank makes unusual noises, suspect overheating and shut the unit down.
Test the pressure. A plumber can attach a gauge and watch it over 24 hours. Pressure that spikes after a heating cycle is thermal expansion; pressure that is high all the time is a supply problem.
Inspect the valve. Mineral crust, corrosion, or a valve not exercised in years is a candidate for replacement.
What Not to Do
Never cap or plug a T&P valve to stop the drip. Blocking it turns a nuisance leak into a potential tank rupture. Do not tape the outlet, plug the discharge pipe, or wire the lever shut.
If the valve is leaking, fix the pressure or temperature problem rather than blocking the safety device. Replacing the valve without correcting the cause usually means the new valve leaks too.
Watch Out A T&P valve that is discharging hot water or steam, or one that will not stop flowing, is an emergency. Shut off the power or gas and the water supply, keep people away from the discharge, and call a licensed plumber. Do not try to hold the lever closed.
Urgency at a Glance
What You See | Likely Cause | Urgency |
Occasional drip after a heating cycle | Thermal expansion | Medium, add an expansion tank |
Steady drip all day | High supply pressure | Medium, test and correct pressure |
Steady stream, hot water | Overheating or high limit | High, shut down and call a pro |
Slow weep with no pressure issue | Worn valve | Low to medium, replace valve |
Valve will not stop flowing | Failed valve or true over-pressure | Emergency, shut off and call a pro |
If the valve keeps leaking after pressure and expansion issues are corrected, the valve itself should be replaced, a straightforward part swap, done with the tank depressurized and cooled.
What to Do When a Water Heater Leaks
What to do when a water heater leaks comes down to four steps: turn off the power, shut off the water, drain the tank if needed, and call a plumber. Start by classifying the leak.
Step 1: Classify the Leak by Severity
Not every leak is an emergency. Match what you see to one of these three levels and act accordingly.
Severity | What It Looks Like | Immediate Action |
Drip | Occasional drip at a fitting, valve, or the T&P discharge | Place a bucket, dry the area, and schedule a repair |
Steady leak | Continuous flow that refills a towel or bucket within minutes | Shut off power/gas and water, then call a plumber today |
Sudden failure | Water pouring or spraying from the tank or a burst line | Shut off power/gas and water, drain if safe, call for emergency service |
A drip from a fitting is annoying but rarely urgent. A steady leak from the tank or a valve that will not close is urgent. A sudden failure is an emergency, stop the water damage first, diagnose later.
Step 2: Turn Off the Power or Gas
Electric: flip the breaker at the panel. Do not rely on a wall switch, and never touch a wet heater with the breaker on. Gas: turn the gas supply valve off. If you smell gas, leave the area and call your gas provider from outside.
Step 3: Shut Off the Water
Close the cold water supply shutoff valve above the tank. If it is stuck or you cannot find it, shut off the main water supply. This stops new water from feeding the leak.
Step 4: Limit the Water Damage
Move boxes, rugs, and anything stored near the unit away from the water.
Place towels or a bucket under the leak and check them often.
If water is spreading, use a wet/dry vacuum or mop to pull it up before it reaches drywall or flooring.
Step 5: Drain the Tank If the Leak Is Heavy
Connect a garden hose to the drain valve and run it to a floor drain, utility sink, or outside. Open a hot water tap to speed draining. Skip this step if the tank is leaking from the bottom and water is already pooling, draining a failed tank can make the flow worse.
Step 6: Call a Plumber
For a tank leak or a T&P valve issue, get a professional out. A plumber can confirm whether the leak is a repairable fitting or a failed tank before any work starts.
Safety Notes by System Type
Gas units: If you smell gas, leave the area and call your gas provider before anything else. Do not light matches, flip switches, or use a phone near the unit.
Electric units: Never touch a wet heater with the breaker on. If the breaker panel is in a wet area, do not stand in water to reach it.
Heat pump water heaters: These have a condensate line in addition to standard plumbing. A clogged condensate line can look like a leak. Shut off power before inspecting.
Key Takeaway The single most important step is shutting off the power or gas first. Water and live electricity or an open gas line are a dangerous combination, and no amount of saved time is worth that risk. After that, classify the leak, a drip and a tank failure call for very different responses.
Water Heater Replacement Signs to Watch For
Water heater replacement signs show up long before a full failure, and catching them early saves you from a flooded floor.
Watch for these signs:
The tank is 8 to 12 years old
Rust or orange stains on the tank body
Water pooling at the base with no fitting leak
If you see two or more of these, plan a replacement before the tank fails on its own schedule.
At True Value Plumbing, we replace water heaters for homeowners across the area and walk you through the options before you commit.
Frequently Asked Questions
Can you still use your water heater if it's leaking?
It depends on where the leak is coming from. A small drip at a loose fitting or drain valve may let you keep using the unit briefly while you arrange a repair. If water is pooling under the tank, coming from the temperature and pressure relief valve, or the tank itself is corroded, shut off the water and power or gas supply and stop using it. A leaking tank can fail completely without warning and cause serious water damage.
Is it an emergency if my water heater is leaking?
Treat any continuous leak as urgent. A steady flow that soaks the floor can damage flooring, drywall, and electrical components within hours. If you smell gas near a gas water heater, leave the area and call for help immediately. For electric units, turn off the breaker before touching anything near standing water. A slow occasional drip gives you a little more time, but it still needs a plumber soon.
Can a leaking water heater be repaired, or does it need to be replaced?
Many leaks can be repaired. Loose pipe connections, worn fittings, a failing T&P valve, or a damaged drain valve are all fixable parts. A leaking tank is different. Once corrosion eats through the steel, no patch holds for long, and the unit should be replaced. A plumber can tell you which situation you have after inspecting the leak location and the tank's age.
How can I tell whether the leak is coming from the tank or a connection?
Dry the area completely, then watch where water reappears. Water at the top fittings, inlet or outlet connection, or T&P valve points to a part that can be tightened or replaced. Water seeping from the tank seam, the base, or rust streaks on the shell means the tank itself is failing. Mark the water line with tape and check it again after an hour to confirm the source.
Book Online
Comments