


Schedule Residential Plumbing Inspection 2026

Table of Contents
Why Schedule a Residential Plumbing Inspection
Applying for a Plumbing Permit and Inspection Request
Step 1: Identify Your Local Authority and Find the Correct Portal
Step 2: Determine Your Permit Requirements by Work Type
Step 3: Create an Online Account or Schedule by Phone
Step 4: Submit Plans and Required Documents
How Long Does a Plumbing Inspection Take
Whole-Home Plumbing Inspection Checklist
What Inspectors Check
Preparation Checklist for Inspection Day
Plumbing Inspection Appointment Checklist
Emergency Plumber Inspection: When You Need Immediate Service
What Happens After Your Inspection
Understanding Inspection Results and Next Steps
Correcting Violations and Requesting Reinspection
Rescheduling, Cancellations, and Missed Inspections
Closing Out Your Permit
Frequently Asked Questions
Last Updated: October 11, 2026
Why Schedule a Residential Plumbing Inspection
When you schedule residential plumbing inspection, you identify problems before they become expensive emergencies. Most homeowners wait until something breaks, a burst pipe, backed-up drain, or failed water heater, then scramble to find an emergency plumber at premium rates and risk water damage.
Scheduling an inspection on your own timeline lets you address issues cost-effectively. For homes over 10 years old, an inspection catches invisible deterioration before it fails. It's essential if you're planning renovations, buying property, or want peace of mind.
We recommend inspections every 3-5 years for most homes. New construction needs rough-in inspections during framing; older homes benefit from comprehensive assessment to catch corrosion, outdated materials, or code violations.
Applying for a Plumbing Permit and Inspection Request
Most residential plumbing work requires a permit and inspection from your local building department. Requirements vary significantly by jurisdiction, so understanding your specific area's rules before you begin saves time and prevents rejections.
Step 1: Identify Your Local Authority and Find the Correct Portal
The first challenge is determining which agency handles plumbing permits in your area: an incorporated city, unincorporated county, or third-party inspection service.
For incorporated cities: Search "[your city name] building department" or "[your city name] development services." Most cities maintain a website with permit applications, fee schedules, and online scheduling portals.
For areas using third-party inspectors: If your local government website lists a third-party provider like Rialto or ICC, apply and schedule through that company's portal instead of directly with the municipality.
Once you've identified the correct authority, bookmark their permit page and note their phone number to schedule residential plumbing inspection and handle permit intake.
Step 2: Determine Your Permit Requirements by Work Type
Not all plumbing work requires a permit. Understanding what your specific area requires prevents delays or code violations.
Work that typically requires a permit:
New water supply lines or drain-waste-vent installation
Water heater replacement (required in most jurisdictions; some allow self-certification)
Fixture installation (sinks, toilets, showers)
Rough-in plumbing for additions or renovations
Backflow prevention device installation
Gas line work (always requires a permit and licensed contractor)
Work that may not require a permit (varies by jurisdiction):
Faucet or aerator replacement
Trap or P-trap replacement under existing fixtures
Minor repairs to existing systems
Call your building department and ask explicitly: "Does [your work type] require a permit in [your jurisdiction]?" Request the answer in writing via email for protection if questions arise later.
Step 3: Create an Online Account or Schedule by Phone
Most building departments use online scheduling portals. Visit your jurisdiction's permit page and look for "Online Permit Portal," "ePlan," or "Citizen Access" to create an account and submit your application electronically.
Online portals typically show available inspection dates (often 2-4 weeks out), required documents, permit fees, and real-time status updates.
If your jurisdiction doesn't offer online scheduling, call the inspection division with your property address, work description, contractor details (if applicable), and preferred dates. Request email confirmation of the appointment and pre-inspection requirements.
Step 4: Submit Plans and Required Documents
Document requirements depend on work complexity. Simple replacements may need only a permit application; new construction or major renovations require detailed plumbing plans.
Typical documents for new construction or major work:
Plumbing plans showing pipe locations, sizes, and materials
Fixture schedule (list of all fixtures and their locations)
Riser diagram (vertical layout of supply and drain lines)
Backflow prevention device specifications (if required)
Contractor's license verification
Typical documents for replacements or repairs:
Completed permit application form
Scope of work description
Contractor's license number (if applicable)
Submit documents at least one week before your desired inspection date. The building department reviews plans for code compliance within 3-7 business days and notifies you of any required corrections.
Once approved, you'll receive a permit number and confirmation that your inspection appointment is scheduled. Write down the permit number and keep it accessible, you'll need it on inspection day.
How Long Does a Plumbing Inspection Take
A standard residential plumbing inspection takes 1-2 hours. Whole-home inspections take closer to 2 hours; focused inspections (rough-in or final sign-off) may take 30-45 minutes.
Duration depends on home size, system complexity, and accessibility. The inspector will provide an estimate when you schedule.
Whole-Home Plumbing Inspection Checklist
What Inspectors Check
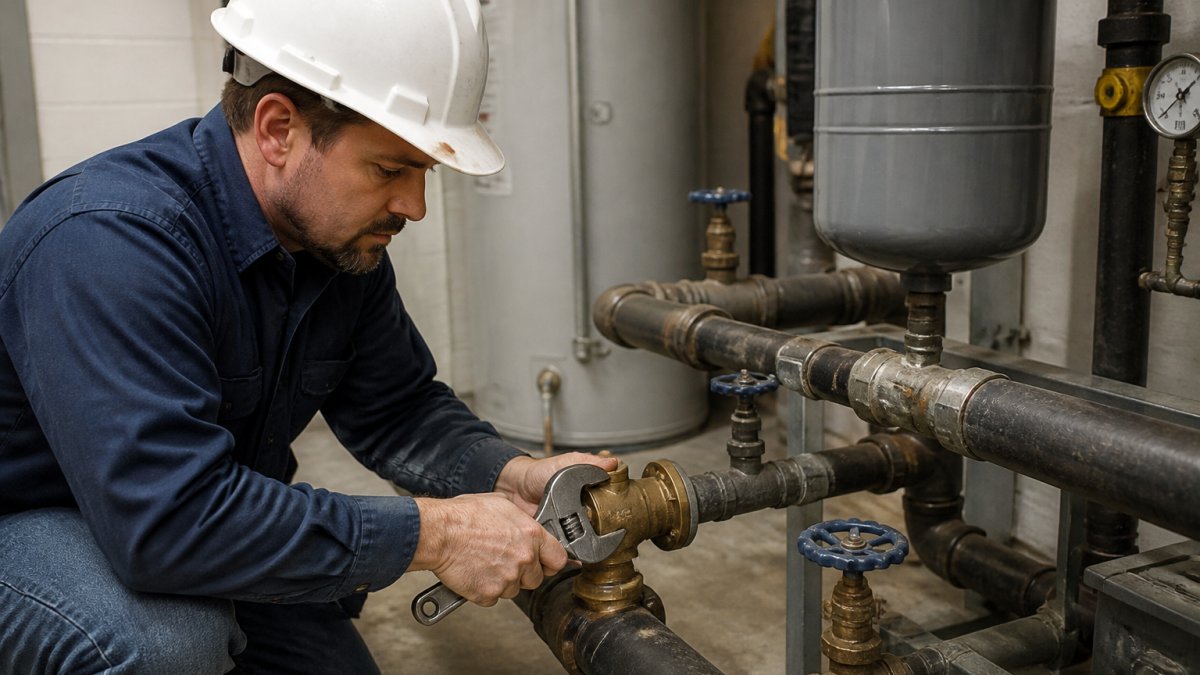
Inspectors verify code compliance and proper function. They examine water supply lines for leaks and corrosion, check drain-waste-vent systems for proper slope and trap placement, verify cleanout access, and conduct pressure tests.
They test fixture water flow, check for leaks, inspect water heater installation, confirm backflow prevention devices, and verify gas line connections. They identify code violations like undersized pipes, missing vents, or improper connections.
Preparation Checklist for Inspection Day
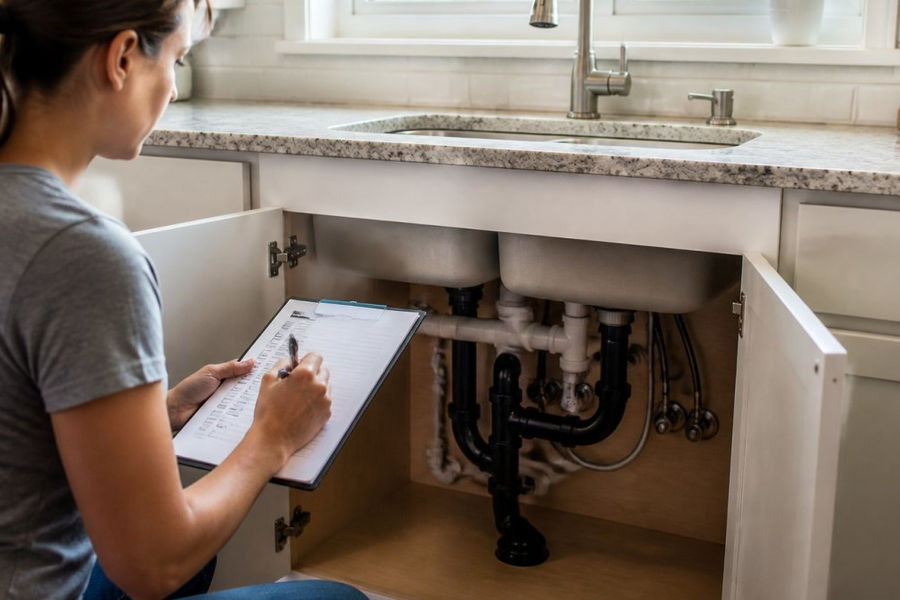
Clear access to all plumbing areas: move items from under sinks and around the water heater, ensure basement access to main water and drain lines, and turn off water-using appliances before the inspector arrives.
Have permit paperwork ready, address clearly marked, and note any recent repairs. Write down questions ahead of time and ensure someone is home to answer questions about the system's history.
Plumbing Inspection Appointment Checklist
Confirm your appointment 2-3 days before the scheduled date. Have your property address, permit number, and contact phone number ready. Clear access to the main water shut-off, water heater, and work areas.
For rough-in inspections, ensure framing is complete and plumbing is roughed in but not yet covered by drywall. For final inspections, all fixtures must be installed and functional. Have the contractor or homeowner present to answer questions.
Pro Tip Document any existing damage or issues with photos before the inspection. If the inspector finds problems, you'll have a clear record of what was pre-existing versus what's new. This protects you if disputes arise later.
Emergency Plumber Inspection: When You Need Immediate Service
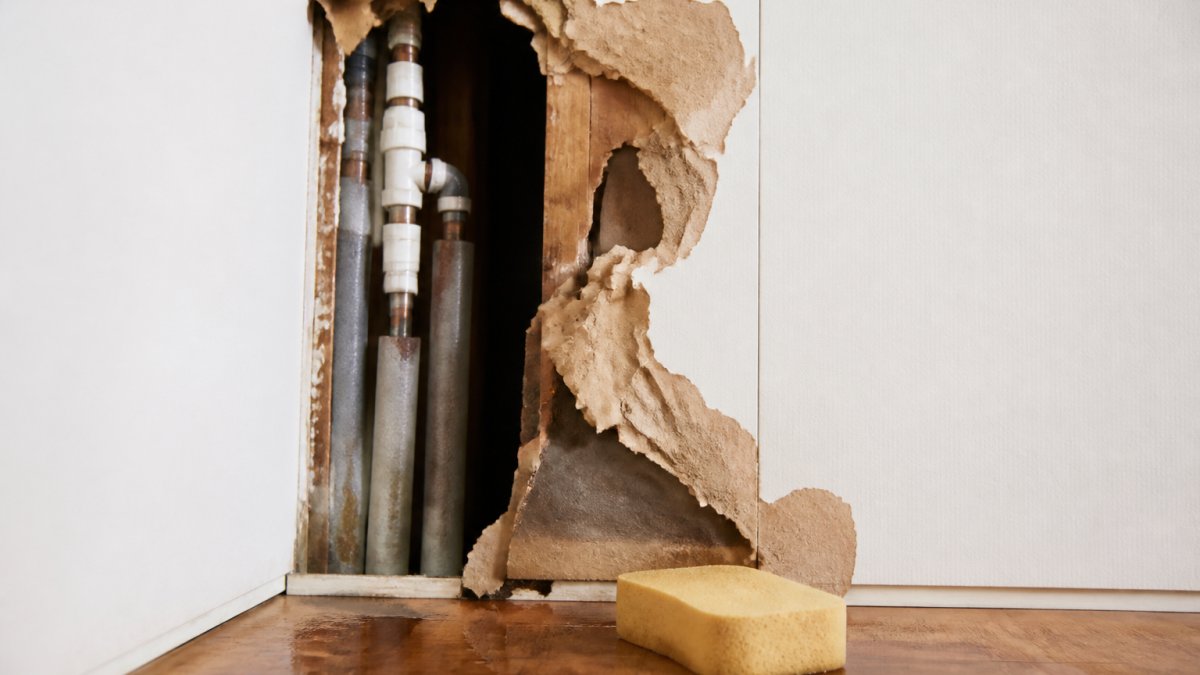
For urgent situations, burst pipes, sewage backups, or no hot water, emergency inspections are available outside normal hours at higher cost. Call your building department's emergency line or contact a licensed plumber to assess the problem.
For true emergencies, a plumber can stabilize the situation immediately while you arrange the permit inspection later. True Value Plumbing can identify the problem, explain your options, and help coordinate with your building department if a permit inspection is required.
What Happens After Your Inspection
Understanding Inspection Results and Next Steps
After the inspector completes the appointment, you'll receive a written report (often emailed within 1-3 business days) showing one of three outcomes:
Passed: All work meets code. The permit is closed, and you may proceed with the next phase of work or consider the project complete. No further action is required.
Passed with Conditions: The work is acceptable, but minor items must be corrected within a specified timeframe (typically 30 days). Common conditions include:
Labeling of shut-off valves or cleanout access points
Installation of required signage (e.g., "Backflow Prevention Device")
Submission of manufacturer documentation for installed equipment
Photographic evidence that corrective work was completed
You'll receive written instructions on what must be done. Some conditions can be corrected without a reinspection; others require a follow-up visit. Contact the building department if you're unsure whether a reinspection is needed.
Failed: The work does not meet code. The inspector will note specific violations on the report. Common failures include:
Improper pipe slope or sizing
Missing or incorrect venting
Leaks detected during pressure testing
Improper fixture installation or spacing
Code violations in materials or connections
The report will explain each violation in plain language and reference the applicable code section. You have a set timeframe (typically 30-90 days, depending on jurisdiction) to correct the violations and request a reinspection.
Correcting Violations and Requesting Reinspection
If your inspection failed, do not ignore the report. Unpermitted or uncorrected work can result in fines, difficulty selling your home, or insurance claim denials.
Step 1: Review the violations carefully. If you don't understand what failed or why, call the building department and ask for clarification.
Step 2: Hire a licensed plumber to correct the violations. Unless you're a licensed plumber yourself, do not attempt corrections.
Step 3: Request a reinspection. Contact the building department (by phone or through the online portal) and request a reinspection appointment. Provide:
Your permit number
The original inspection date
Confirmation that violations have been corrected
Your preferred reinspection dates
Reinspections are typically scheduled within 2-4 weeks. There is usually no additional fee for a reinspection if you're correcting violations from the same inspection.
Step 4: Prepare for the reinspection. Ensure all corrected work is exposed and accessible.
Rescheduling, Cancellations, and Missed Inspections
Rescheduling an appointment: If you need to move your inspection to a different date, contact the building department as soon as possible. Most jurisdictions allow one or two free reschedules without penalty. Provide at least 48 hours' notice if possible. Repeated cancellations and rebooking may result in:
Loss of your appointment slot
A reinspection fee ($25-$100)
Permit expiration (if you don't complete the inspection within the permit's validity period, typically 6-12 months)
Missing an inspection: If you miss your scheduled appointment without canceling, the consequences vary by jurisdiction:
The permit may be marked "failed to appear," requiring you to reapply and pay a new permit fee
A reinspection fee may be charged when you reschedule
The inspector may note the missed appointment on your record, affecting future permit processing
If you're running late, call the building department immediately. Inspectors have back-to-back appointments and typically cannot wait more than 15-30 minutes past the scheduled time. It's far better to reschedule than to miss the appointment.
Permit expiration: Permits are valid for a set period, usually 6-12 months from issuance. If you don't complete the inspection within that window, the permit expires and you must reapply and pay a new permit fee. If your project is delayed, contact the building department to request a permit extension (usually granted for one or two 6-month periods).
Closing Out Your Permit
Once your final inspection passes, the building department will issue a "Certificate of Occupancy" or "Permit Closure" document. This officially closes the permit and confirms that the work meets code. Keep this document with your home records, you'll need it if you sell the property, file an insurance claim, or apply for future permits.
For major work (new construction, large renovations), the closure document is essential for:
Transferring the property (buyers and lenders require proof of permitted work)
Insurance claims (insurers may deny claims for unpermitted work)
Future permit applications (inspectors review your history)
Request a copy of the closure document in writing if it's not automatically provided. Some jurisdictions email it; others mail it or require you to pick it up in person.
Frequently Asked Questions
How do I schedule a residential plumbing inspection?
Contact your local building department or inspection division to request a residential plumbing inspection. Most jurisdictions allow you to create an online account through a scheduling portal, or you can call the inspection department directly. You'll need to provide details about your plumbing work, submit required plans and documents, and select an inspection appointment date. Processing times vary by local jurisdiction, so confirm the turnaround time when you apply.
What should I include on my plumbing inspection appointment checklist?
Before your appointment, verify that all rough-in work is complete, ensure drain-waste-vent systems are properly installed with correct pipe pitch and trap placement, confirm cleanout access points are accessible, and clear the work area for the inspector. Have your permit paperwork ready, document any plan changes, and ensure a responsible adult is home during the inspection window. Check that the plumbing inspector can safely access all areas needing review.
How long does a plumbing inspection take?
A standard residential plumbing inspection typically takes 30 minutes to 2 hours, depending on the scope of work and complexity of your plumbing system. Rough-in inspections are generally faster than final inspections. The inspector will examine underground plumbing, drain-waste-vent systems, pipe connections, and test results. Factors like home size, accessibility of plumbing components, and whether reinspection is needed can affect the total time.
Can I schedule an emergency plumber inspection for an urgent leak?
Yes, you can request an emergency plumber inspection for urgent issues like active leaks or burst pipes. Contact your local inspection division or building department directly by phone to explain the emergency. Many jurisdictions offer expedited inspection appointments for urgent plumbing problems, though availability depends on current demand. Document the issue with photos and be prepared to describe the problem in detail when you call.
Book Online

Comments